Create an event
Start a new event and find your way around the event page.
- Open the My Events menu (top right) → Manage Events and click + New Event (or Create Event in the main menu).
- Type the event title, add a picture (1200 × 500 works best) and pick a category.
- Click Continue Creating Event.
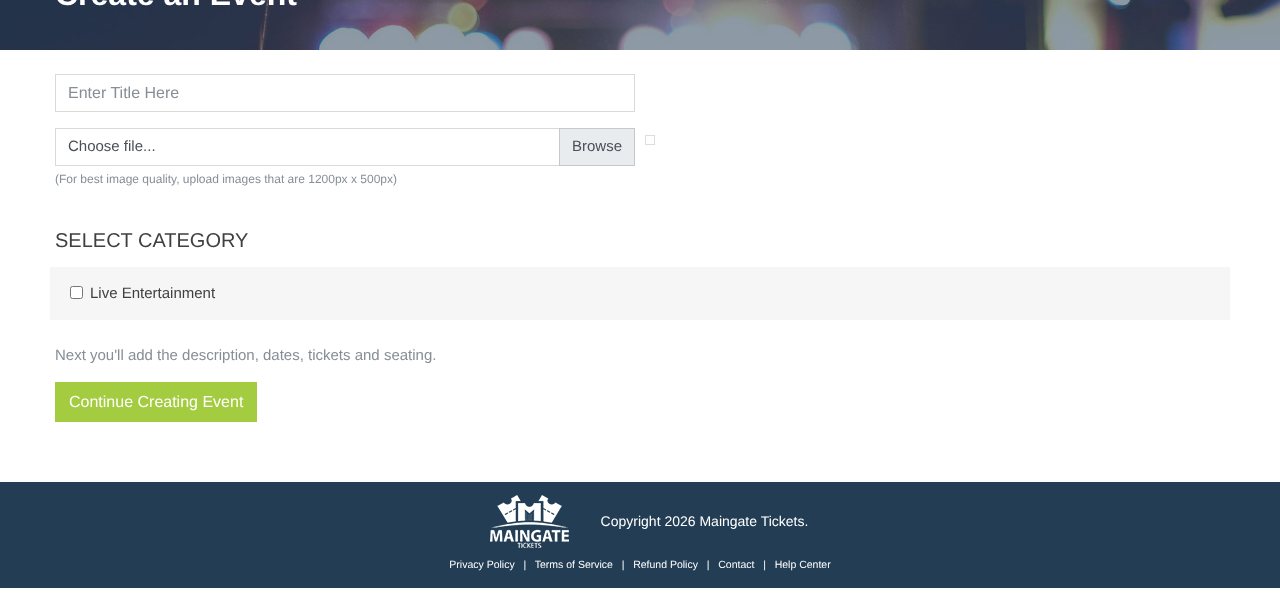
You land on the full event page. It has these parts, top to bottom:
| Part | What goes there |
|---|---|
| Details | Title, picture, category, description, waiver, opt-in |
| Venue | Venue name and address, organizer info, time zone |
| Dates & Times | When the event happens |
| Ticket Type | What you sell and for how much |
| Reserved Seating | Only for seated events |
| Advanced | Discounts, promo codes, embed code, ticket email, tracking |
The bar pinned to the bottom of the screen jumps to each part, sets the status, opens Preview and saves.

Tip: Nothing goes on sale while the status is Pending, so build at your own pace.
Still stuck? Call 713-303-4094 or send us a message.